
SwiftTips Application Tutorial
Welcome to HONA’s SwiftTips Full Cover Tip System! If you’re a nail technician looking to expand your skills and offer your clients the very best in nail extensions, you’ve come to the right place.
In this tutorial, we will walk you through the step-by-step process of applying SwiftTips, ensuring a flawless and long-lasting finish.
Watch Now:
What You’ll Need:
Before we start, ensure you have the following items ready:
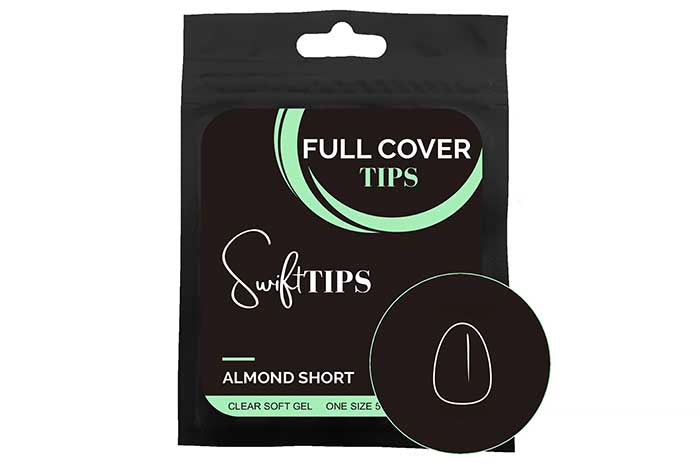
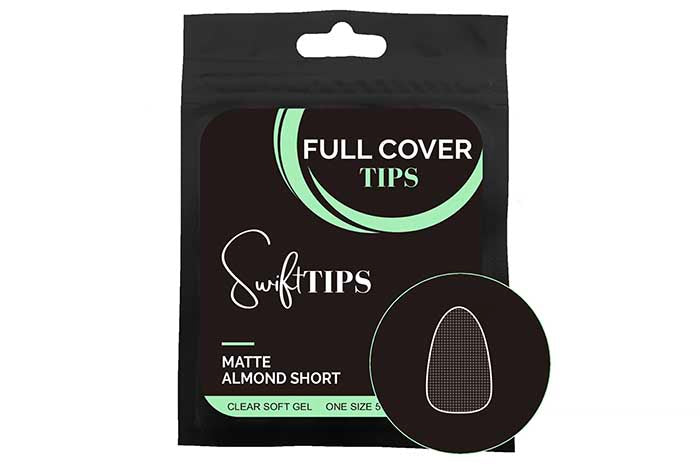
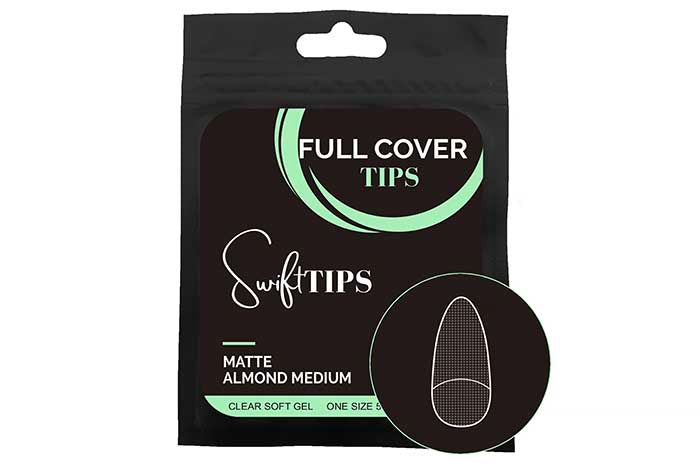
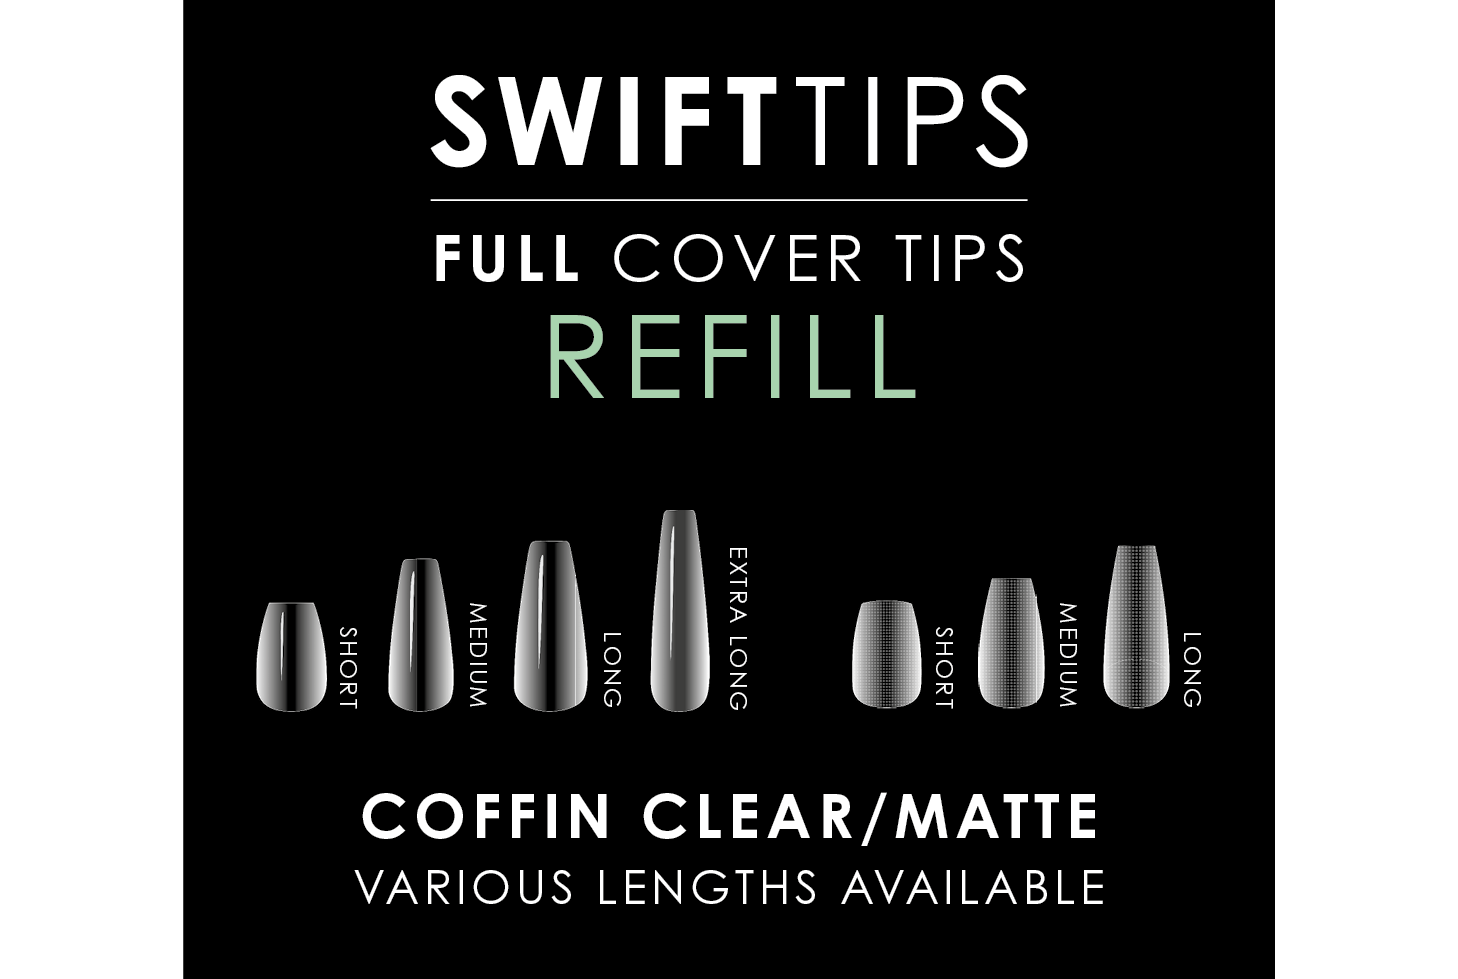
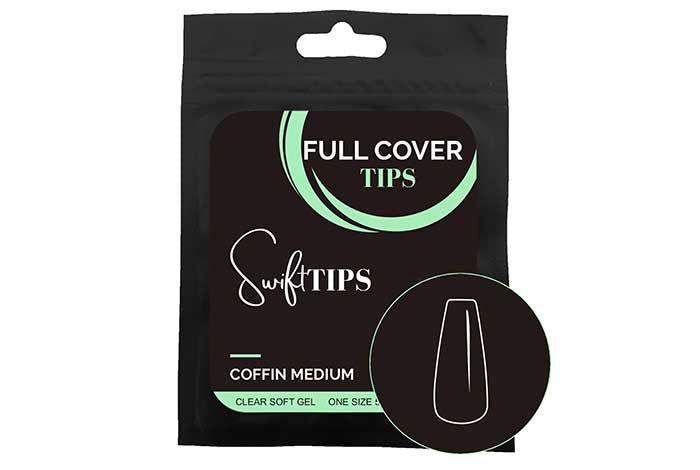
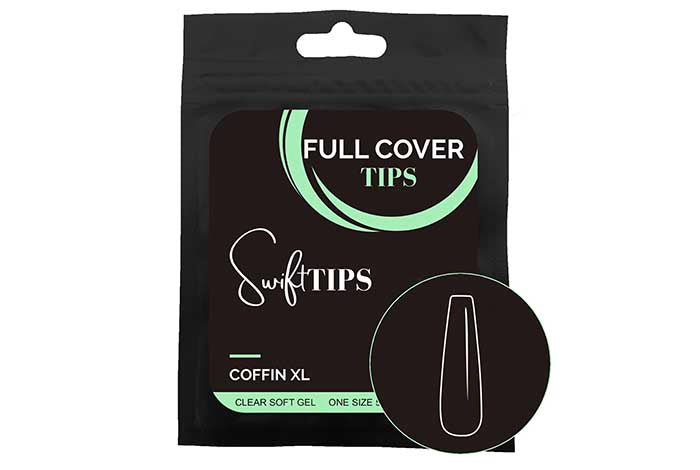
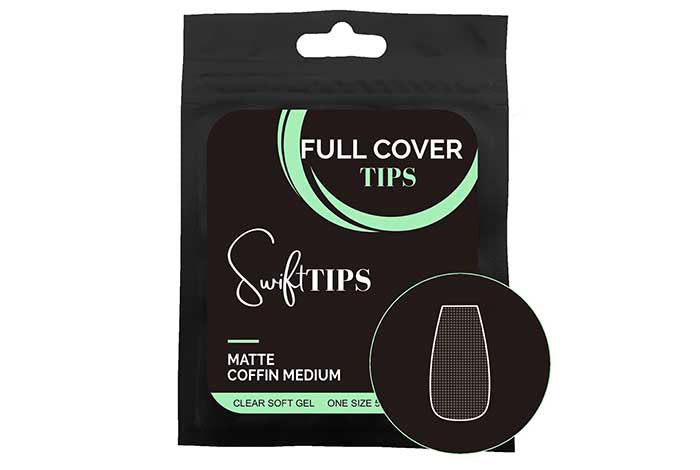
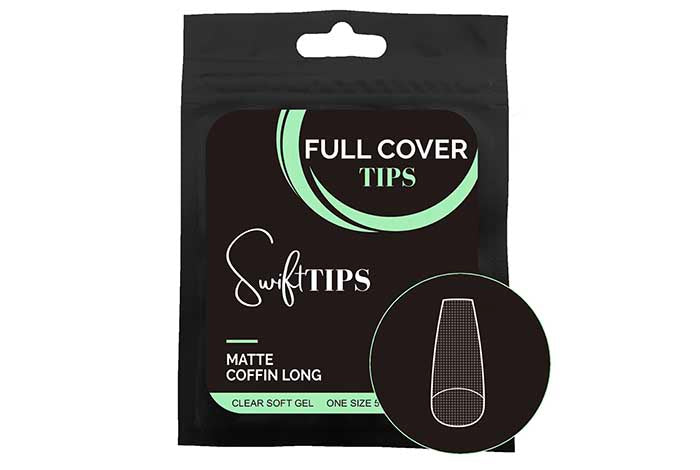
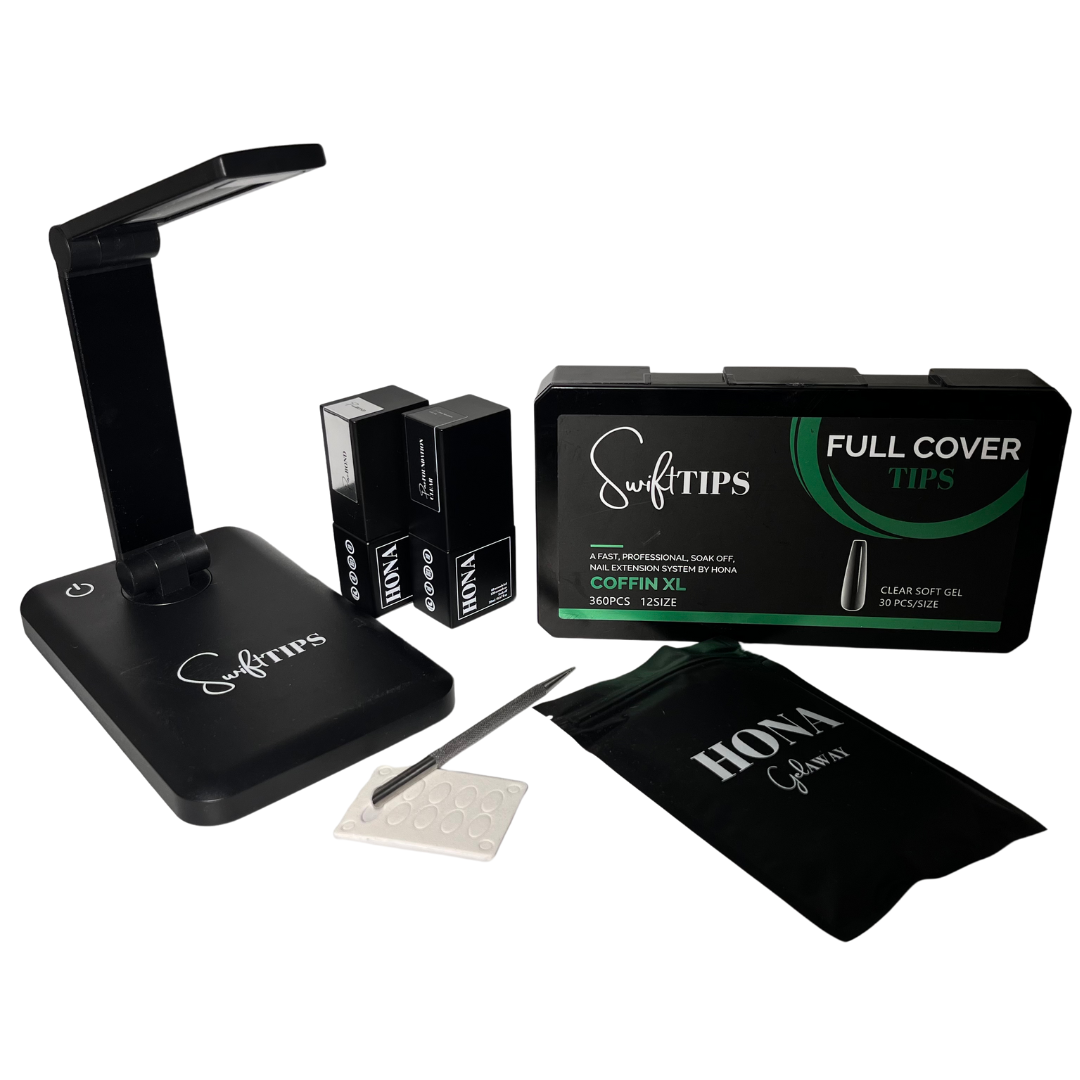
- SwiftTips Full Cover Tip System
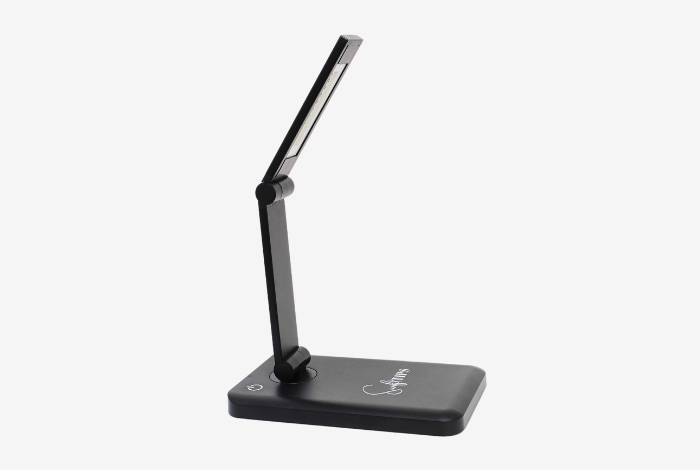
- SwiftTips Lamp
- Etching Tool
- 150 Grit Sanding Refill
- TrueBond
- TrueFoundation
- Your choice of gel colour (we are using Sangria from the Moonlight Fiesta Collection)
- SuperShine Topcoat
- Nail buffer (240 Grit)
Step 1: Prepping the natural nail - Start by ensuring your client’s cuticle prep is complete and the nail has been dehydrated with acetone. Using a manual etching tool with a 150 grit sanding disc ( or if ProFile trained a 150 sanding band), gently etch the surface of the nail plate. Remember, the goal is to only impact the surface, not the delicate layers of the nail. Dust off the nails and dehydrate once you’re done.
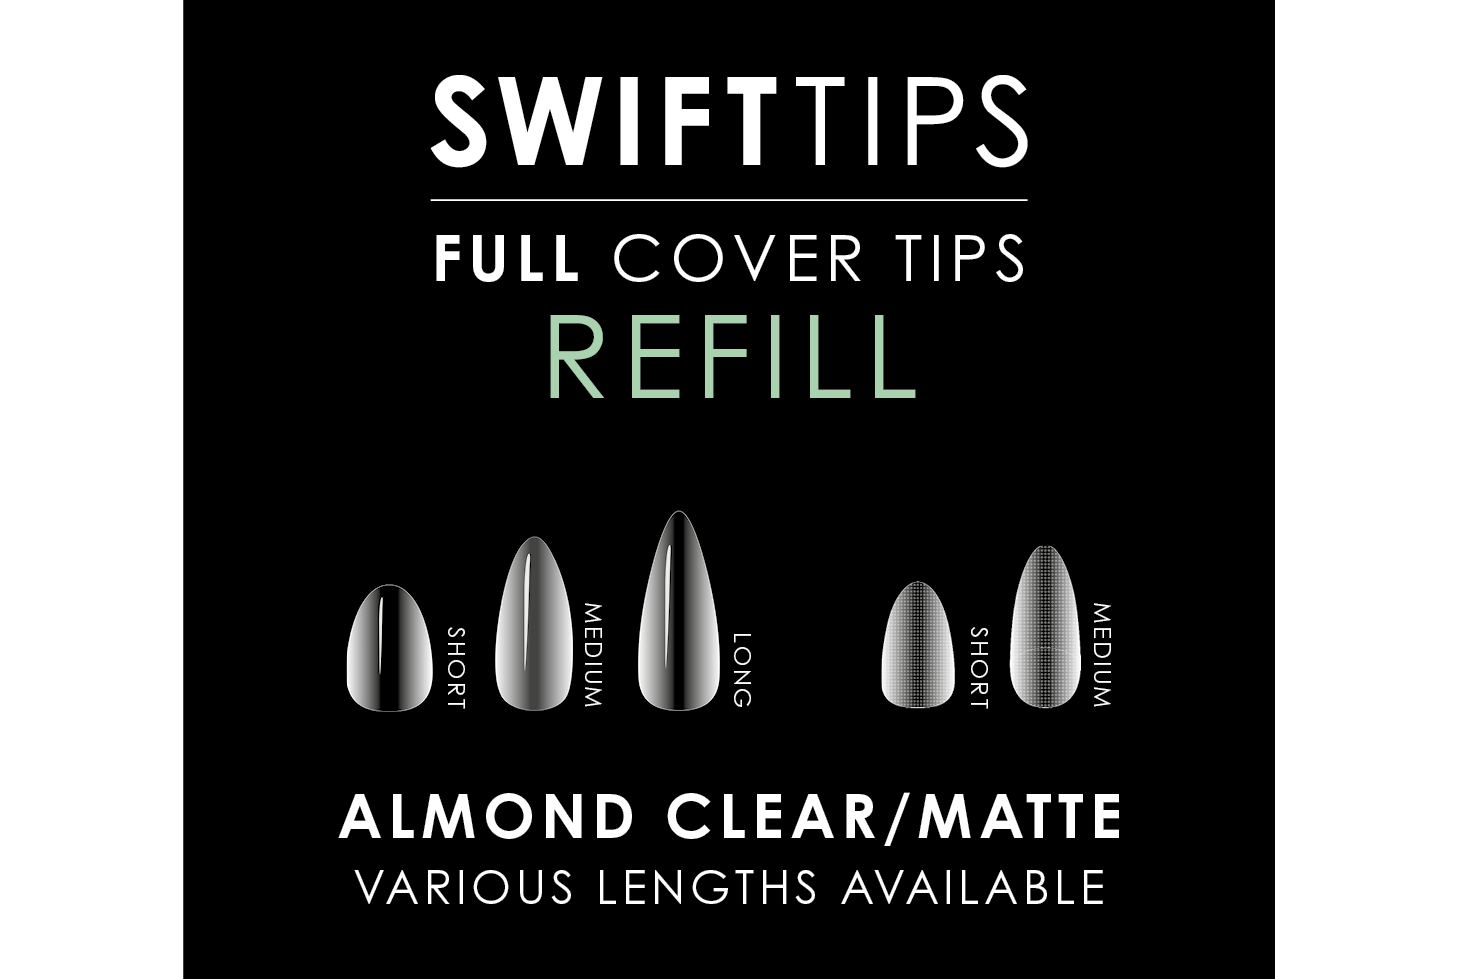
Step 2: Selecting the SwiftTip Size - Choosing the right SwiftTip size is crucial for comfort and durability. SwiftTips come in sizes 0-10, with 0 being the largest. (Please note sizes will vary depending on shape e.g. XL shapes have less )
Place the tip firmly against the nail plate and ensure it covers from edge to edge without any gaps or overlap. If a nail is in between sizes, choose the larger tip and file it down gently.
Step 3: Prepping the SwiftTips - If using an ProFile or manual etching tool, create enough texture inside the SwiftTip for the HONA gel to adhere. Alternatively, apply a thin coat of TrueBond inside the tip and cure for 30 seconds in the HONA cube lamp.
Step 4: Applying TrueBond & Curing - Apply a thin layer of TrueBond to each nail, cure for 15-30 seconds, and prepare the SwiftTips Lamp for application.
Step 5: SwiftTips Lamp & Application - Apply a bead of TrueFoundation to the cuticle area of the SwiftTip, adjusting the size according to the natural curvature of your client’s nail. Hold the SwiftTip at a 45-degree angle to the natural nail, slowly lower it onto the nail plate, and cure for 10-15 seconds using the SwiftTips Lamp. Finish curing under the HONA cordless cube for 60 seconds.
Step 6: Shaping & Final Touches - If necessary, cut down the SwiftTips and shape them to your client’s preference. Be cautious not to alter the built-in apex or free edge thickness too much. Buff away the shine (unless using matte tips) to prepare for color application.
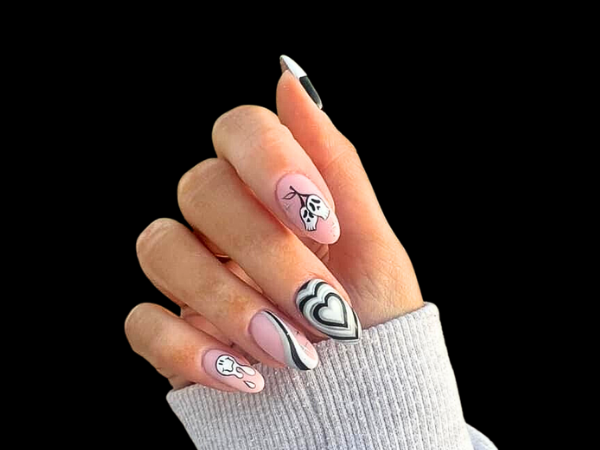
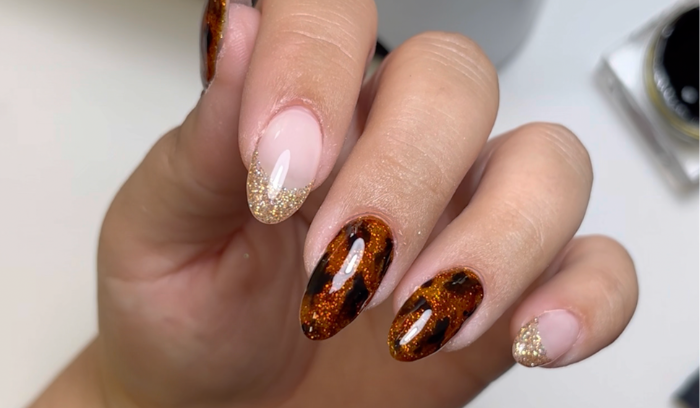
Step 7: Applying Color & Topcoat - Apply two thin coats of your chosen color, getting as close to the cuticle as possible. Finish with SuperShine topcoat, and your nail extension service is complete!


