
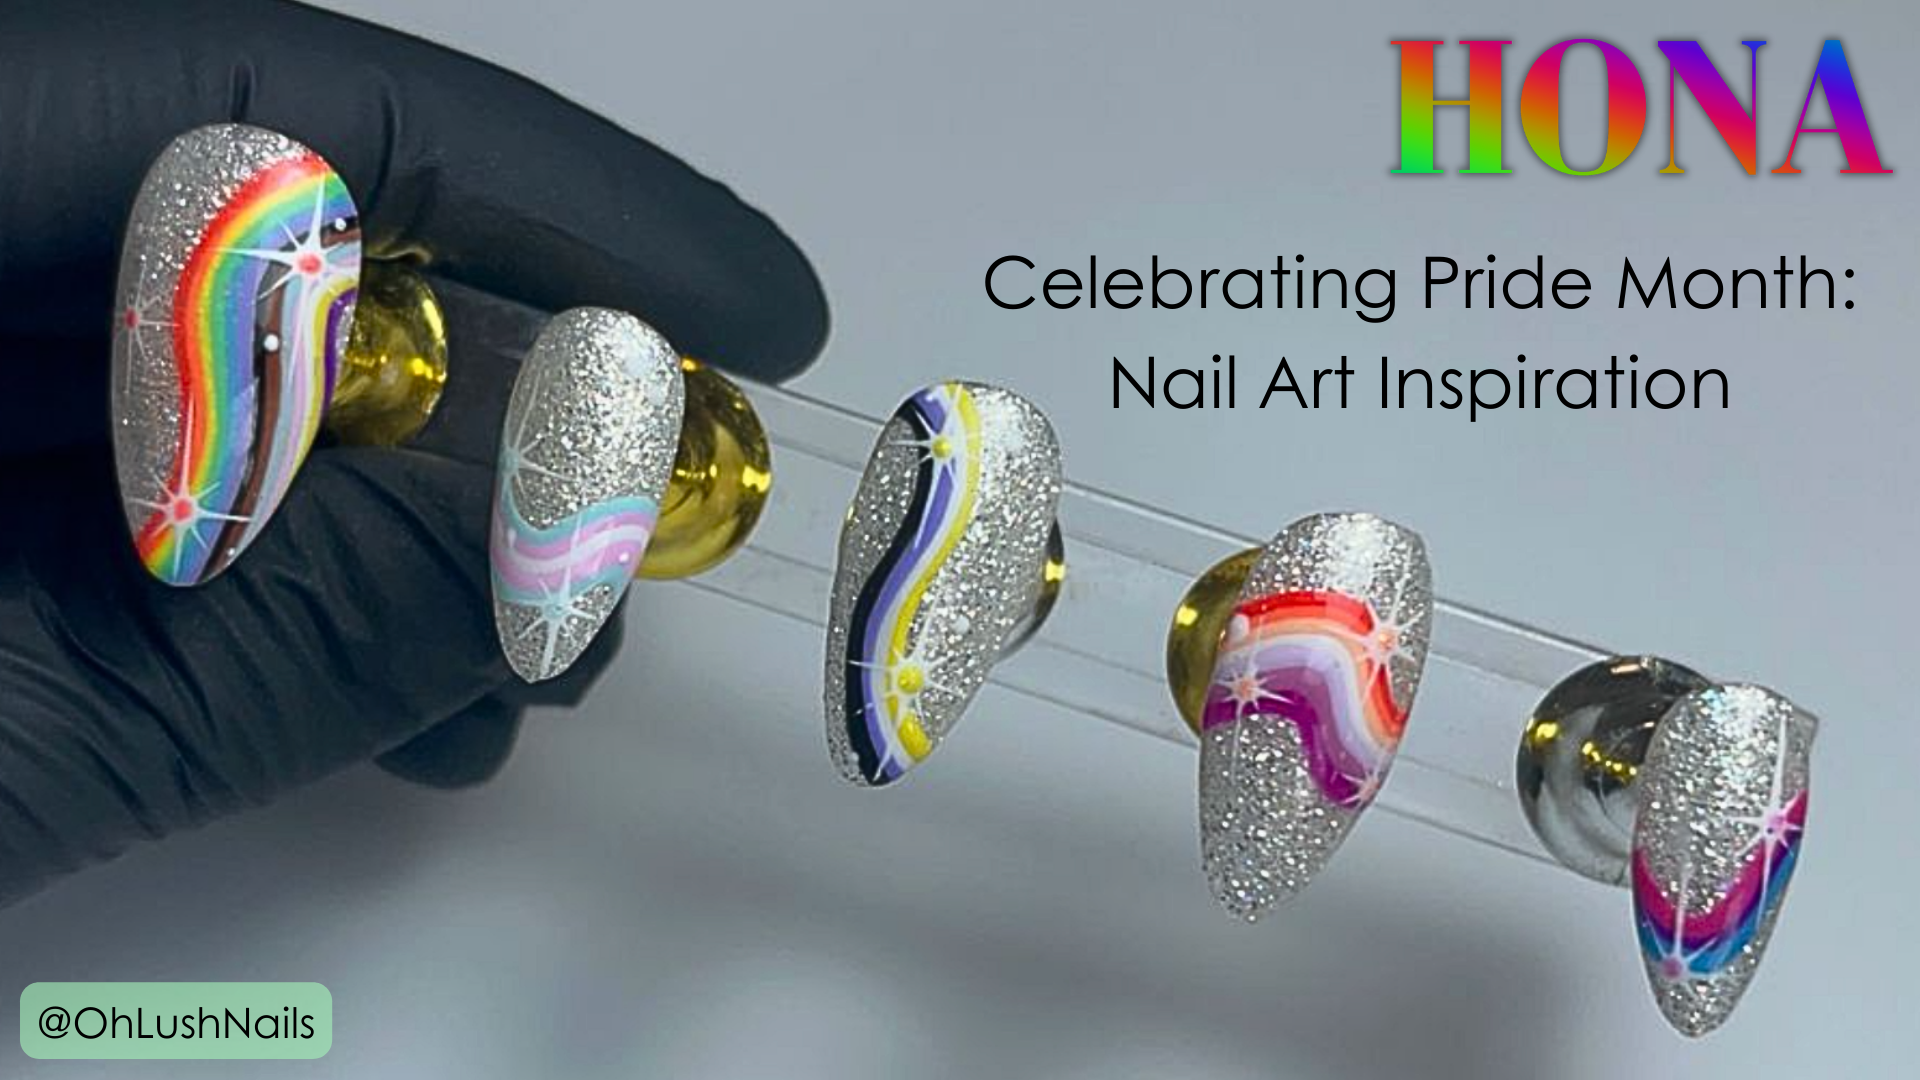
TrueFoundation Coloured Application Tutorial
Our Head of Education, Gaia, takes you through the step-by-step process of using TrueFoundation builder gel, from natural nail prep through to your finished application.
Previously known as PureFoundation, TrueFoundation is HONA’s flexible builder gel formula designed to support natural nail services with strength, flexibility and a range of beautiful shades. In this guide, we’ll walk through the full process so you can feel confident using it in salon.
Watch Now:
Video Transcript
As with any gel service, prep is the foundation of good retention.
Start by sanitising the hands. In this tutorial, Gaia uses PureClean, HONA’s non-alcoholic sanitiser, before moving straight into cuticle work. The cuticles are gently pushed back, and the proximal fold is lifted away from the nail plate. This step is important because non-living tissue can often cling tightly to the nail plate, even when it is not immediately visible.
If that tissue is not properly removed, it can interfere with adhesion and affect the overall longevity of the service. Using a manicure tool, the remaining non-living tissue is carefully removed from the nail plate, especially around the side walls and cuticle area. Because the tool is sharp, it is important to follow the natural shape of the nail rather than working in one harsh direction.
Once the cuticle work is complete, the nail plate is scrubbed with 100% pure acetone to remove oils, debris and surface contaminants. This helps dehydrate the nail and prevents oils from being pressed deeper into the surface during etching.
Etching the Natural Nail
Next, the natural nail is etched using HONA’s Etching Tool with a 150 grit pad, which is the recommended grit for HONA manicure services. This helps create the right surface texture for improved adhesion.
While some nail techs prefer using a standard 150 grit file or sanding bands, manual etching is often the more thorough option. It gives you more control and ensures the nail plate is etched evenly. If you do use sanding bands, it is worth changing them regularly, as they soften quickly and become less effective.
Once etching is complete, any remaining non-living tissue can be carefully trimmed away with cuticle scissors. This tissue is usually lighter in colour, making it easier to identify.
Shaping the Nail
Before moving into product application, the nails are shaped.
A good tip here is to season your file first. This simply means removing the raw edge of the file using another file, which helps prevent accidental cuts around the skin.
For a round shape, imagine a straight line running from the centre of the cuticle to the centre of the free edge. File towards that invisible centre line from each side to keep the shape balanced.
It is also important to only begin shaping from the fingertip. Filing too far into the side walls can cause discomfort, create an unflattering shape, and in some cases contribute to ingrown nails or future stress breakages.
Once the shape is refined, lightly file underneath the free edge to remove any frilly bits, then dust off and dehydrate the nail again before starting your builder gel application.
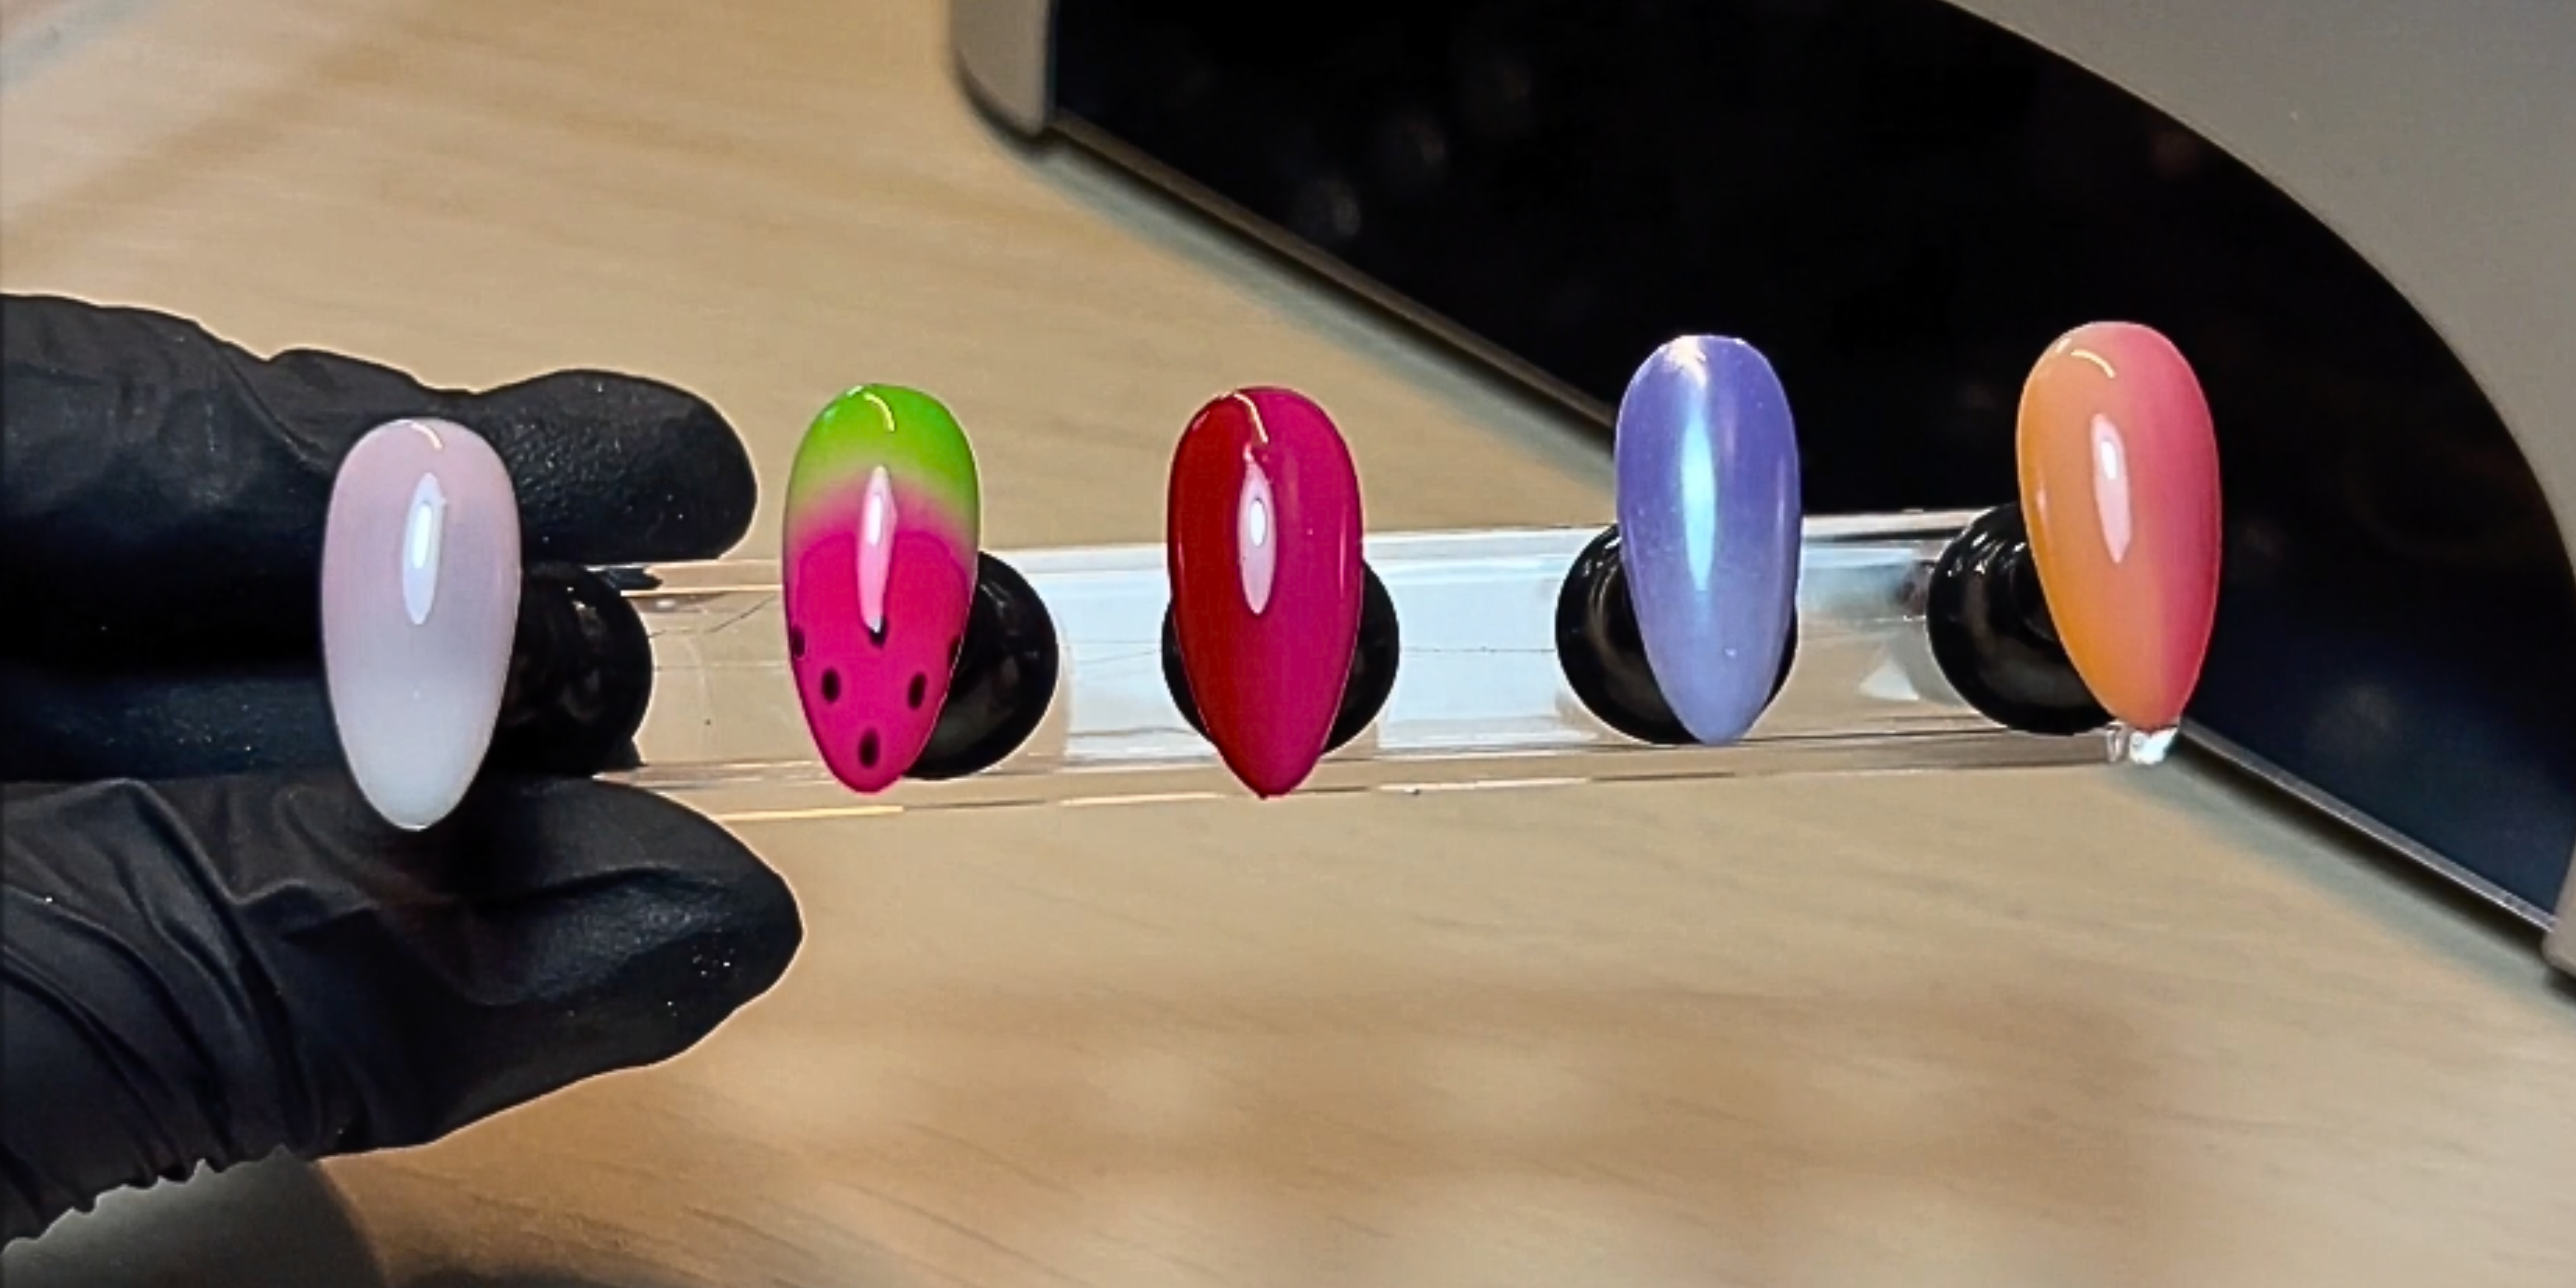
Applying TrueFoundation Coloured
In this tutorial, Gaia uses TrueFoundation Pearl, one of the shades available in the TrueFoundation range.
One of the main differences between TrueFoundation and TrueBuild is that TrueFoundation is more flexible and does not require a separate base coat. That means you can go straight in with your first layer of product.
Begin with a thin base layer of TrueFoundation and cure for 60 seconds. As with all HONA gel products, make sure the free edge is capped and remove any fluff or debris before curing.
Once the base layer is cured, move on to the structure layer. Place a bead of product onto the nail and gently guide it towards the cuticle area, getting it as close as possible without flooding. From there, float the product down the nail plate using light control through the brush.
As you reach the free edge, cap it again to maintain strength and seal the enhancement. If needed, add a small amount of extra product through the centre of the nail to build the apex.
A liner brush can then be used to tidy the side walls and help guide the product neatly into place.
Apex Placement and Self-Levelling
Once the product is in place, turn the hand upside down and let gravity help the gel self-level.
This is one of the easiest ways to perfect your builder gel application. During this stage, the product will begin to smooth itself out, helping correct any lumps or unevenness from application.
If you need the apex to sit slightly closer to the free edge, point the finger downwards towards the desk. If you need the product to sit slightly further back, angle the finger upwards. Once the apex looks balanced, return the hand to its normal position, allow the product to settle for a few seconds, then cure for 60 seconds.
Refining and Finishing
At HONA, most of the refining is ideally done before curing by guiding the product carefully during application. However, if needed, you can wipe the nail with IPA after curing and gently refine any remaining unevenness with a file.
Just be careful not to over-file the areas you have already capped.
Once you are happy with the structure, finish with your chosen top coat, cure for 60 seconds, wipe down if needed, and finish with a hydrating treatment to complete the service.